 Current status of the cartesian bot. The main addition is the completed z stage and the x stage motor.
 Overview of the z stage. Here you can see the cantilvered nature of the design and the position of the roller bearings I showed in my last blog post. There are four major components of the z stage (all of which can be seen in this photo): the bearings, a cross beam that holds the travelling nut, and two support beams that link the cross beam and bearings together while also supporting the heated aluminum build platform.
 Here's a closeup of the junctions between the right roller bearings and the z cross beam with the right side support beam. Four bolts is probably overkill for holding it in place, but it serves to provide a very ridgid connection that won't wobble. As with everything else, double nuts are used (but not implemented yet in the photo) to ensure no bolts come loose.
 A closeup of the captive nut support. You can see I have the nut locked into place by means of squeezing it up against a second (slot-adjustable as you can see) aluminum angle. The lack of side supports on the nut allows a bit of translational play to counteract the inherent wobble in the z stage stud/leadscrew. There seems to be quite a bit of friction though in some parts of the leadscrew because of the z stage wobble, so I'm going to test using a nylon nut or bronze nut in place of the current stainless steel one (if I can find one at home depot that is =P ).
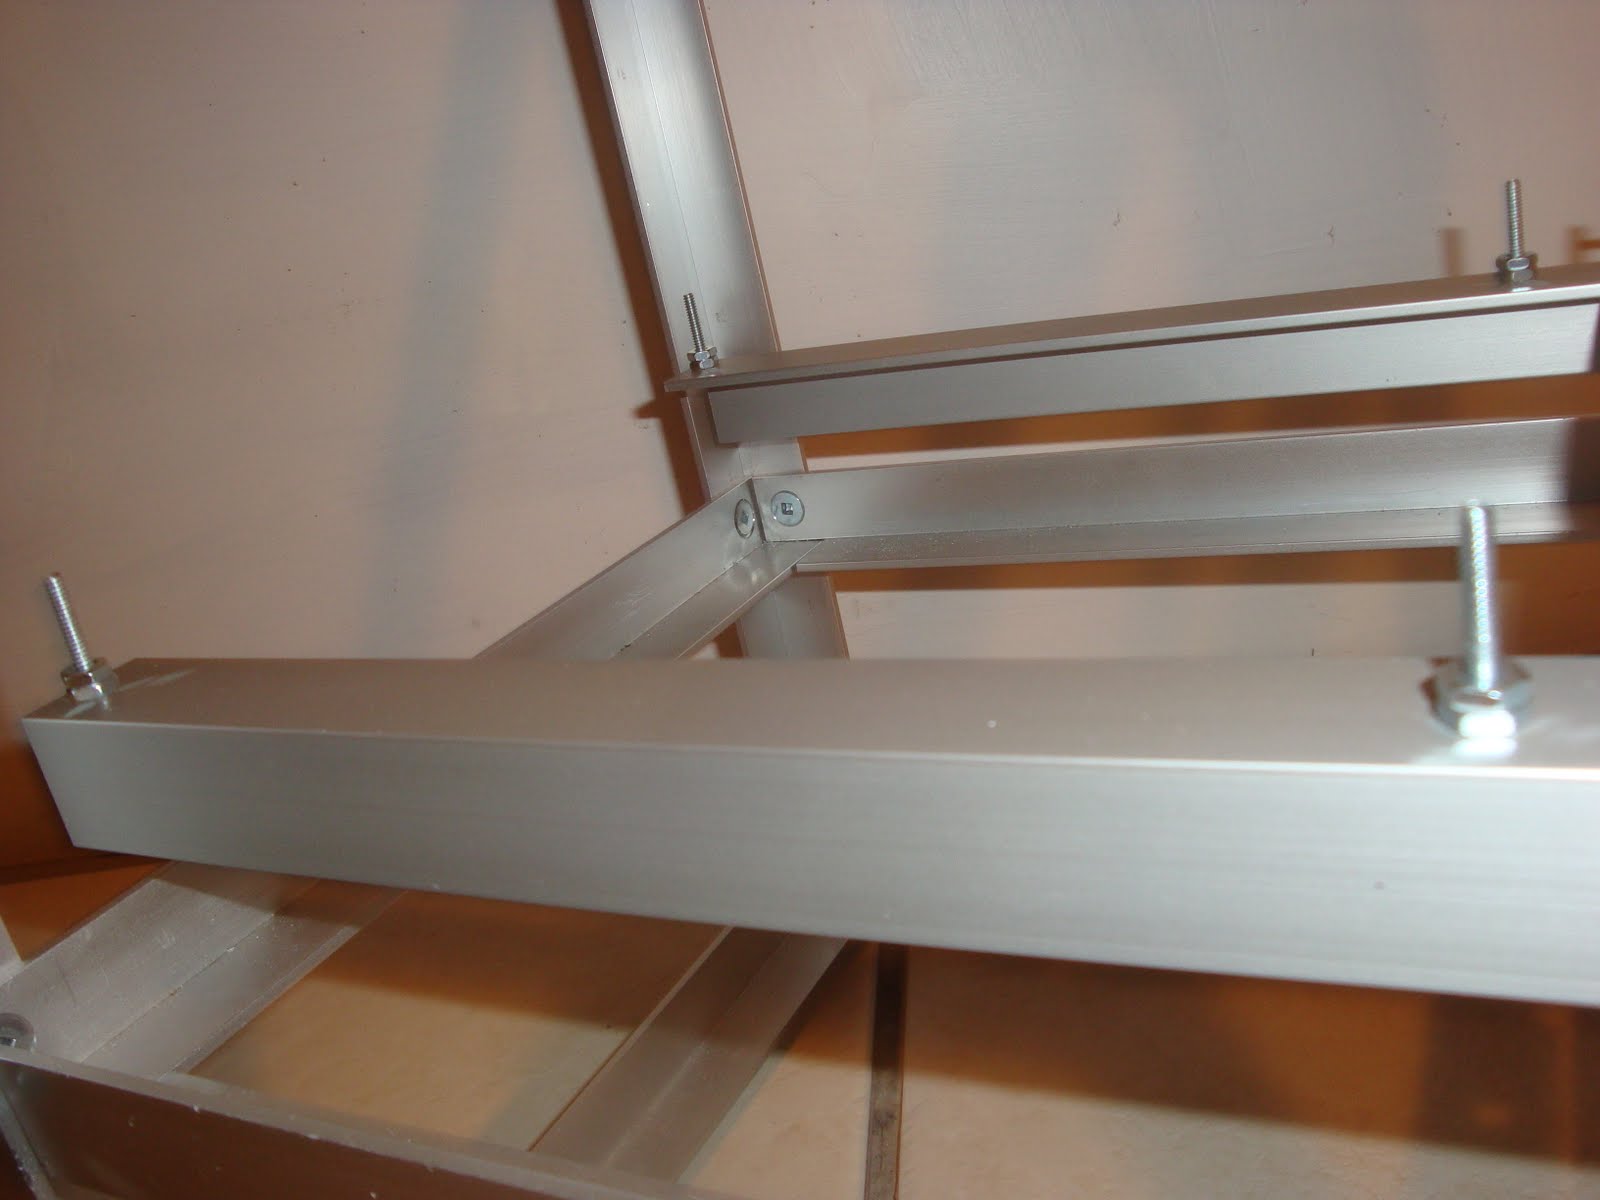 Here you can see the four bolts that (will) hold the heated build platform in place. The nuts on the bolts act as spacers, allowing the heated build platform to get to its temperature of around 100-110'C (for ABS) without heating and expanding the rest of the z stage and robot. It also allows for easy levelling of the platform by adjusting the height of each nut the platform rests on.
 Here you can see the beginning of the x motor being installed on the frame. To hopefully help isolate the vibrations the stepper motor makes (in addition to microstepping), I'll be adding rubber/silicone washers to the motor axle and bolts.
That's it for now. Hopefully by next week I'll be able to show the x motor securely bolted in place with the leadscrew installed.
till next time,
-Eric
No comments:
Post a Comment